When manufacturers think about increasing storage capacity, the first instinct is often to look for additional warehouse space. But before expanding your facility or leasing more square footage, it pays to ask a simpler question: Are you using the space you already have as efficiently as possible?
In many facilities, the limiting factor isn’t the building. It’s the storage system. Materials are often stored based on habit rather than optimized around dimensions, weight, accessibility, or inventory turnover. The result is wasted floor space, underutilized vertical space, and unnecessary travel time for operators.
The good news is that evaluating your storage capacity doesn’t have to be complicated. A few simple calculations can reveal opportunities to store significantly more material within your existing footprint.
Step 1: Start With What You’re Measuring
Before you calculate anything, write down:
- Target number of inventory storage locations. How many distinct positions do you actually need?
- Inventory dimensions for each inventory type: storage orientation or bundle configuration, plus the minimum, maximum, and most common length × width × height, and weight.
- Available floor space, measured honestly. Support columns, dock doors, and staging areas interrupt usable space; net them out.
- Available ceiling space, again, measured honestly. Roof pitch, rafters, lighting, HVAC, and sprinkler systems all steal height from the number on the building plans. Look into how high you can pile inventory without crushing material, and/or how low your crane can safely access material between posts. Typically, this is a maximum of 6-7 feet tall.
- Material handling equipment reach. The minimum and maximum lift height and depth reach of your forklifts or cranes. A rack level your equipment can’t reach isn’t storage; it’s decoration.
Step 2: Build Your Storage Bay Conservatively
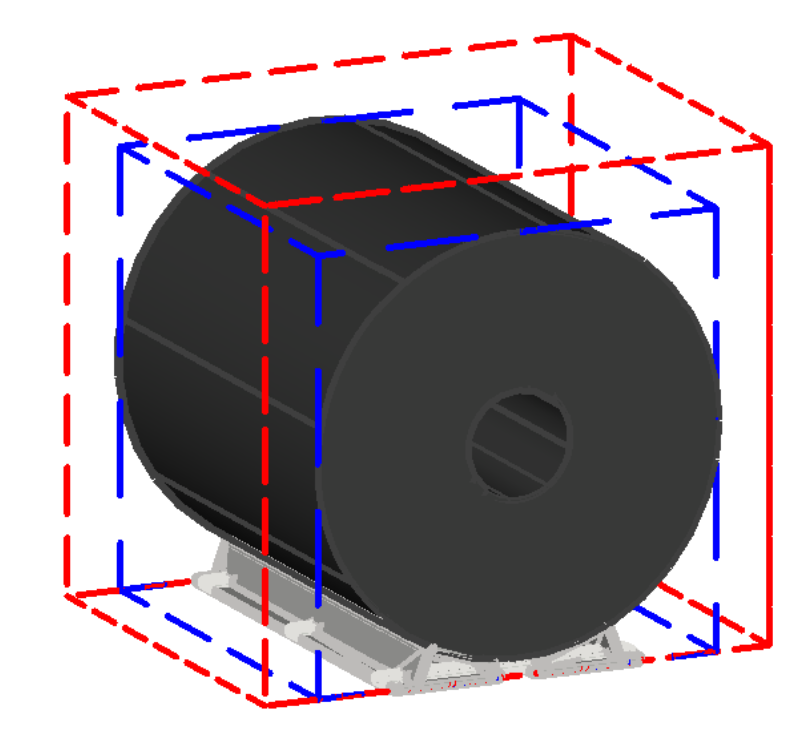
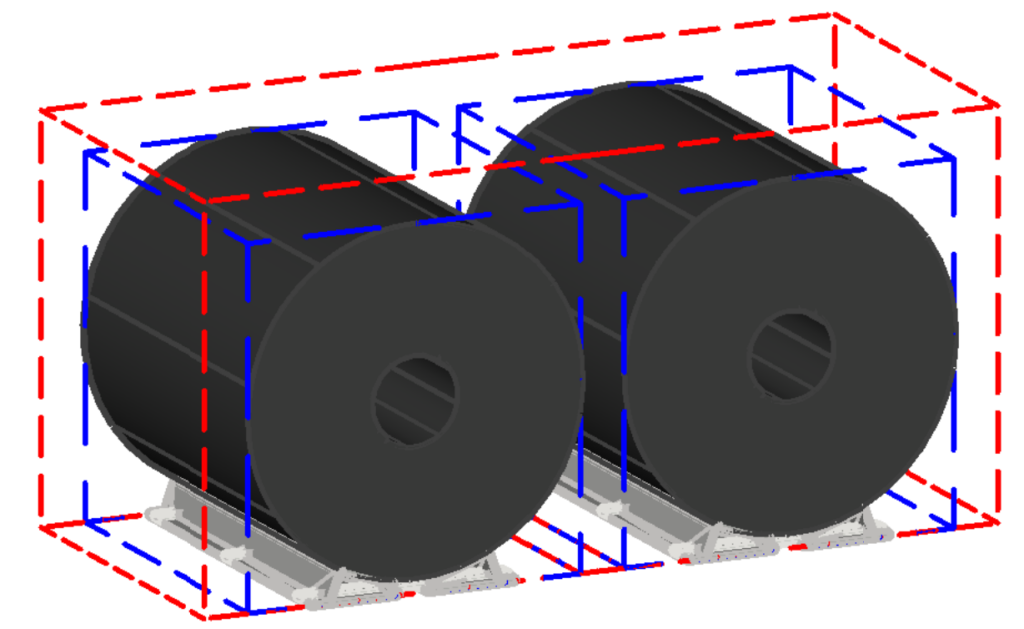
Start with your maximum length, width, and height for the inventory type, not the average. Then add 1.5 to 2 feet of clearance around each dimension for material handling: turning, lift clearance, and placing loads without contact. That is your storage bay, which is the true amount of space each storage position consumes.
It will feel too big. That’s the point. “Napkin math” should surprise you with how little fits, so the real design work surprises you in the other direction.
Step 3: Run the Square Footage by All Three Axes
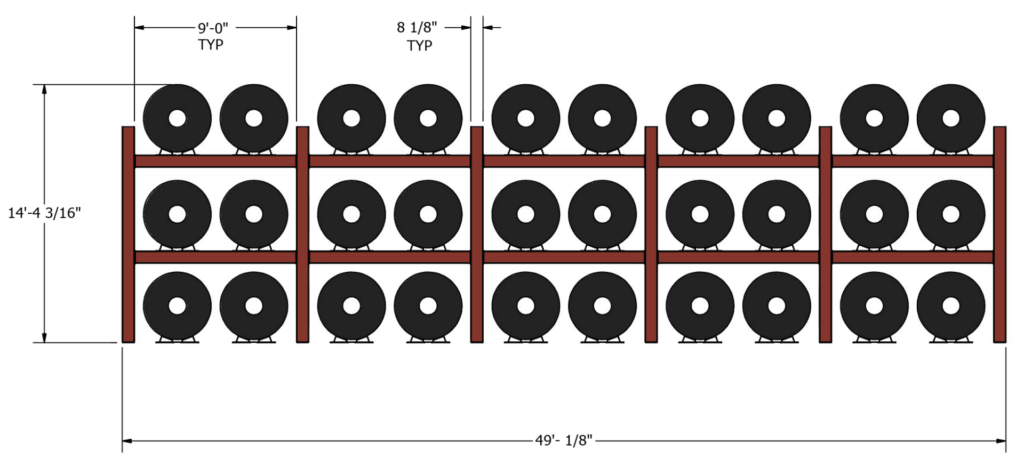
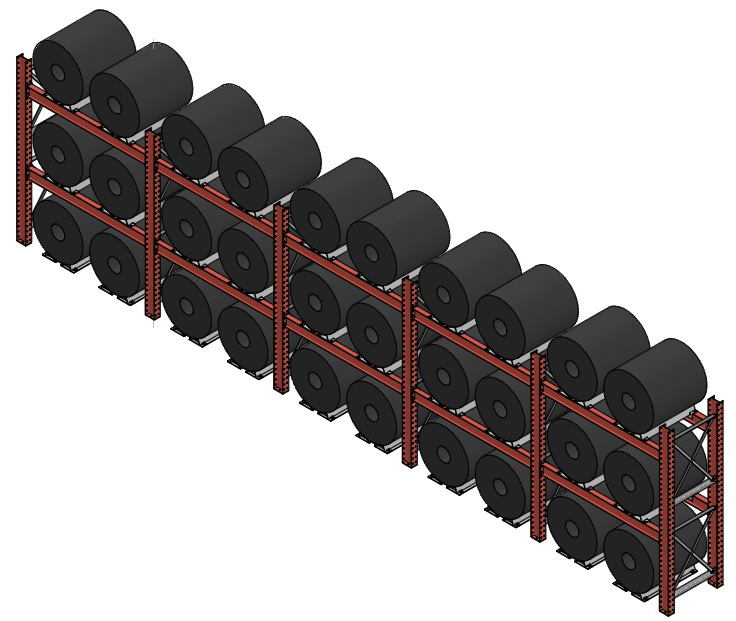
Along the length (x-axis). Assume 1 foot between each rack column. So if you have 100 feet of storage run and a 10-foot storage bay, you don’t get 10 positions; you get 9. (Nine bays at 10 feet plus eight 1-foot gaps is 98 feet; a tenth bay would need 109.)
Up (z-axis, height). Apply the same 1-foot spacing between levels, and leave at least 3 feet of clearance below the ceiling for sprinkler standoff, lighting, and lift headroom. Then check that number against your equipment’s maximum lift height, because the lower of the two wins.
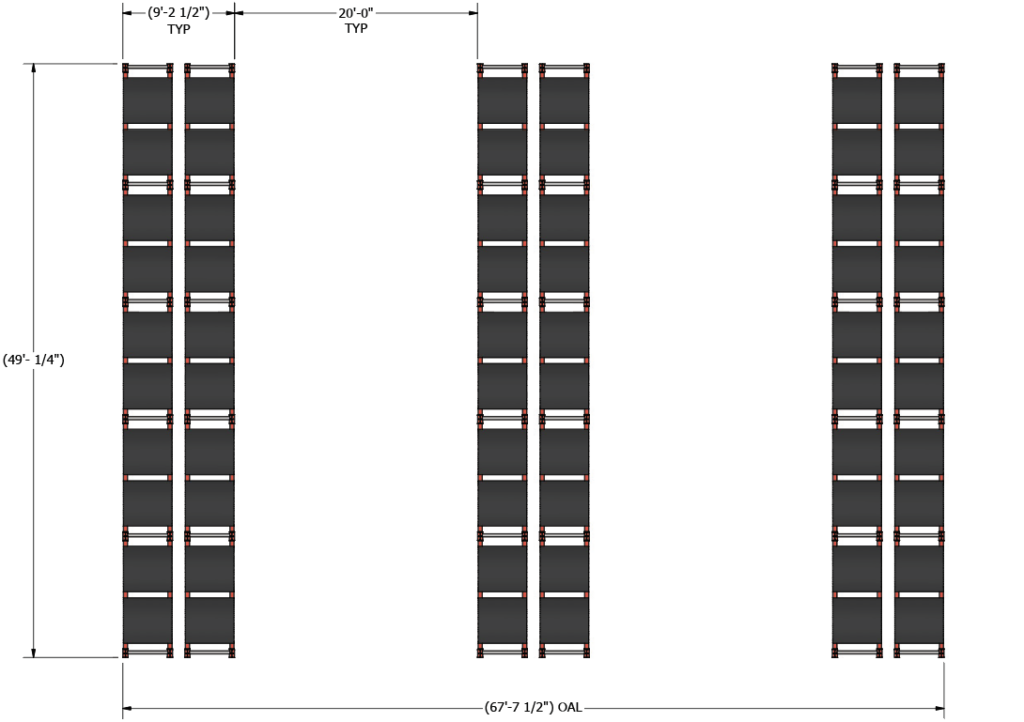
Across the depth (y-axis). This is where most of the space goes, and where most estimates go wrong. Decide whether each rack run is single-sided or double-sided:
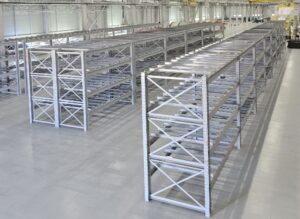
- Double-sided racking: two storage bays back-to-back, plus at least 1 foot between the racking systems, plus roughly 6 inches per side for rack structure and load overhang. With a 5-foot-wide storage bay, that’s a 12-foot section.
- Aisles: 6–10 feet is typical for narrow-aisle equipment; 15–20 feet is normal for standard forklift traffic.
So, with 5-foot bays, double-sided racking, and standard forklifts, each repeat consists of a 12-foot section plus a 20-foot aisle. At a depth of 100 feet, you’re getting about three sections; that’s it. One honest caveat, even at napkin level: check aisle access at the ends of the run. A double-sided section pushed against a wall only works from one face, so your effective position count may be a bit lower than sections × 2.
Step 4: Multiply, Then Refine
Positions along the length × sections deep × sides per section × levels high = your worst-case storage capacity.
That’s the floor, not the ceiling, of what your space can do. Now look for the upside; this is where mixed inventory comes in.
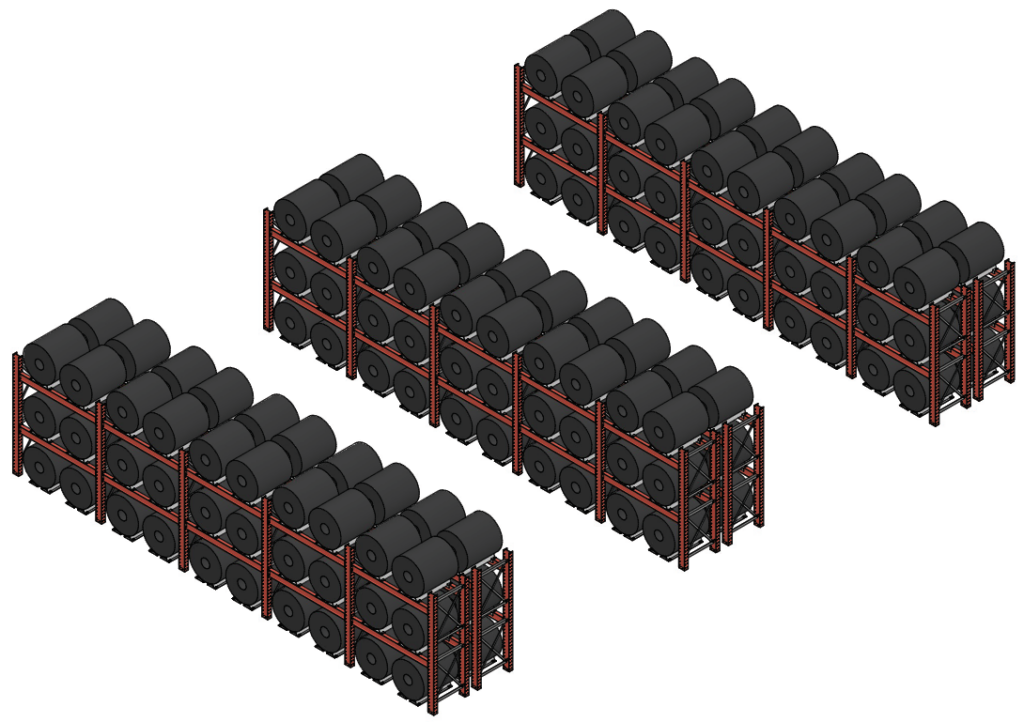
Run the Numbers for Your Facility
We’ve turned the calculations above into a simple Storage Capacity Napkin Math Calculator. Enter your available floor space, material dimensions, rack configuration, aisle width, and storage levels to get a rough estimate of how many storage positions your existing footprint could accommodate.
It’s not a replacement for an engineered storage layout. It’s a starting point, and a much better one than guessing.
What About Mixed Inventory?
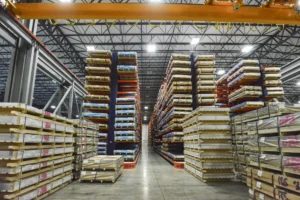
Many manufacturers don’t have the luxury of storing just one material type. In fact, a single warehouse today may contain an uneven mixture of:
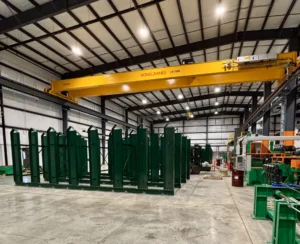
- Steel coils
- Lumber
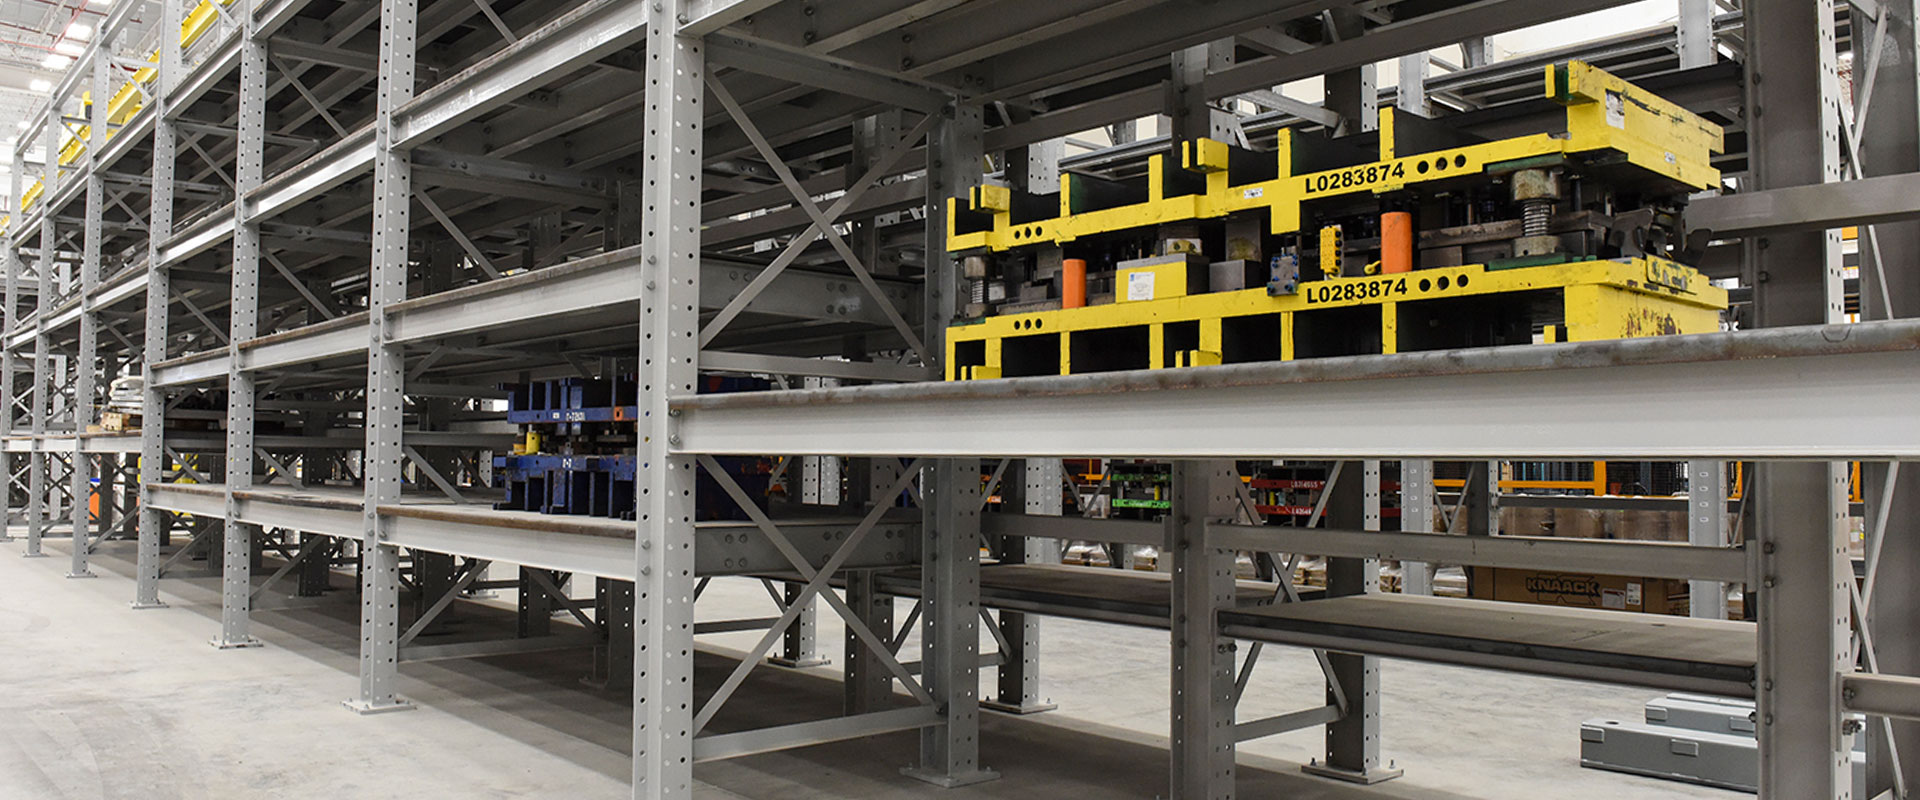
- Tooling and dies
- Sheet goods
- Finished products
- Raw materials
Trying to fit everything into one universal storage solution usually creates compromises for every product category. Instead, the best practice is to group inventory by shared characteristics:
- Similar dimensions
- Similar weight
- Handling requirements
- Inventory turnover
- Picking frequency
High-volume materials should be positioned for efficient access. Less frequently used inventory can often be stored higher or farther from production, while remaining organized and protected. It sounds like common sense, but you’d be surprised how often this simple organizational best practice is overlooked.
In addition, purpose-built storage systems can often be combined within the same facility, allowing each material type to use the storage solution best suited to its characteristics rather than forcing every product into the same rack configuration.
The napkin-math fix is to profile your inventory in three tiers, and then run the math for each:
- Maximum tier: your largest items: max dimensions and count on hand. This tier sizes your section depth and aisle layout because the biggest loads dictate handling.
- Most common tier: the dimensions that describe the bulk of your inventory, with count on hand. This is where zoning pays off: a shorter storage bay often fits an extra level or two under the same ceiling.
- Minimum tier: your smallest items and their count. These can frequently be stored several units per position.
For each tier, calculate a separate storage bay, with its own number of levels, and the rack-run footage it needs to hold its count on hand. Then compare the sum against the rack run your floor actually provides. The difference between “everything stored at max size” and “each tier stored at its own size” is usually dramatic. It is often the difference between needing an expansion or not.
Two grouping rules make this work in practice:
- Group inventory by shared characteristics (similar dimensions, similar weight, handling requirements, turnover), and
- Position high-frequency materials for efficient access while less-used inventory goes higher or farther from production.
It sounds like common sense, but it’s the most commonly skipped step in warehouse layout. Purpose-built storage systems for coil racks, cantilever, die racks, etc., can also be combined within the same facility, so each material type gets the system suited to its characteristics, rather than being forced into one universal configuration.
Why Bother, If the Experts Will Do It Anyway?
Because the napkin math changes the conversation, facilities that skip this step get caught by surprise because they assume the building can hold far more (or far less) than it can, and the storage project starts with a correction instead of a plan.
Dexco’s engineers will work through all of this with far more rigor: seismic and load calculations, column spacing around your actual building steel, equipment-specific aisle design, and mixed-inventory zoning. But when you walk in already knowing your rough position count, you can have a real conversation about what to store where, and whether you need more space at all, or just a better system in the space you have.
In many cases, the capacity you’re looking for is already inside your building. You just have to look up.
Capacity Isn’t Just About Numbers
Storage calculations are an excellent starting point, but they only tell part of the story. The best storage solutions – the ones that are durable enough to last and flexible enough to grow with your company – also improve:
- Operator safety
- Inventory visibility
- Material protection
- Picking efficiency
- Forklift travel distances
- Future scalability
In many cases, manufacturers discover they can dramatically increase storage capacity without adding square footage, simply by matching the storage system to the material being stored. Before investing in additional warehouse space, it’s worth taking a closer look at how efficiently your current space is being used. The right storage strategy can unlock capacity that’s already there, while making your operation safer, more organized, and easier to manage.
Take the Next Step
Ready to see what your existing footprint could actually hold?
Download our Storage Capacity Napkin Math Calculator and run the numbers for your own facility.